Participating in an exhibition is one of the best opportunities for businesses to showcase their products, generate leads and build brand presence. But with so many booths competing for attention, the real challenge is standing out visually. A professionally designed exhibition booth not only attracts visitors but also communicates brand value, credibility and expertise within seconds.
If you’re planning your next event, this guide will help you understand how to create a high-impact, professional exhibition booth through smart branding, high-quality printing and effective setup strategies.
1. Start with a Clear Branding Strategy
Before diving into design, materials or printing, you need a strong branding foundation. Your booth should reflect who you are and what you stand for.
Define your core message
Ask yourself:
What is the key message or product you want to highlight?
What should visitors remember after walking past your stall?
What action should they take (enquiry, demo, sign-up, purchase)?
This message becomes the backbone of your design.
Use consistent brand elements
Make sure all booth elements follow your brand identity:
Logo
Colours
Typography
Tagline
Product imagery
Icons & graphic patterns
Consistency builds trust and improves brand recall during the event.
2. Choose the Right Booth Layout
The layout of your exhibition booth affects visitor flow and engagement. Choose according to your space and objectives.
Popular booth formats include:
Straight booth: Simple and cost-effective, ideal for small spaces.
Corner booth: Allows better visibility from two sides.
U-shaped booth: Great for showcasing multiple products or displays.
Island booth: Open from all sides, premium but very impactful.
Modular booth: Flexible and reusable for multiple events.
For a professional look, prioritise:
Clean pathways
Easy product visibility
Dedicated zones (demo area, branding wall, enquiry desk)
No clutter
3. Design a High-Impact Exhibition Backdrop
The backdrop is the hero of your booth. It’s the first thing people notice from a distance.
Key elements of a good backdrop:
Large, clear logo placement
Punchy headline (3–5 words max)
One core visual or product graphic
Brand colours used boldly
High-resolution printing (no pixelation)
If you want maximum impact, opt for fabric prints, backlit panels or PVC flex with lamination, depending on the event environment.
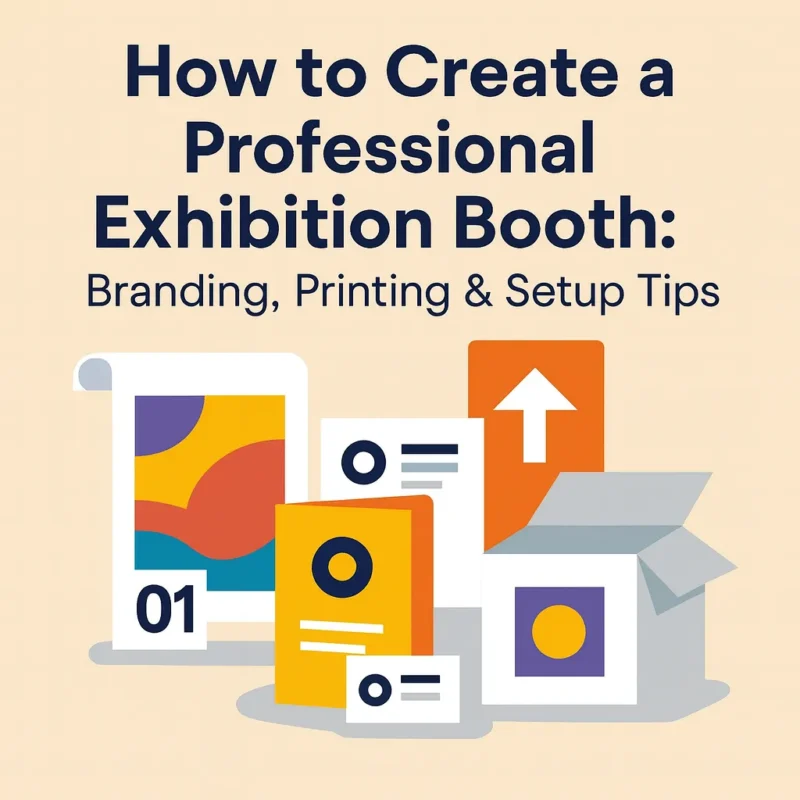
4. Use Professional Exhibition Printing Materials
High-quality printing instantly elevates your booth. Cheap or blurry prints can harm your brand impression.
Must-have exhibition branding items include:
Backdrops & display walls
Roll-up standees
Table-top branding
Hanging banners
Cut-outs & product props
Booth panels (sunboard/ACP)
Fabric or mesh banners
Counter branding
Recommended materials
Sunboard (5mm or 8mm) – Lightweight, great for panels
Foam board – Smooth finish for indoor prints
Fabric (soft signage) – Premium, crease-free, luxurious look
Backlit film – Stunning glow effect for lightbox branding
Vinyl or eco-solvent prints – Durable and vibrant
Acrylic with UV printing – High-end, glossy effect
Investing in better printing materials improves your overall booth aesthetics and durability.
5. Focus on Smart Space Utilisation
Smartly planned space helps you handle more footfall while maintaining a clean and professional look.
Tips to use your booth space effectively:
Keep the front open for easy entry
Place your highlight product or message at eye-level
Use vertical space for branding
Keep the demo area towards the side or centre
Add a seating space only if essential
Hide unnecessary items behind counters or inside storage boxes
The goal is to guide visitors naturally inside your booth without making the space feel crowded.
6. Use Lighting to Enhance Visibility
Lighting can transform the look of your booth and make your branding pop.
Effective lighting options:
Spotlights on products or key visuals
LED strip lighting for counters and shelves
Backlit panels for premium visual appeal
Track lights for adjustable focus
Warm or cool lighting based on your brand tone
Good lighting highlights your message and improves photography — essential for social media and press coverage.
7. Print Takeaway Materials
Don’t forget practical items visitors can take home.
Popular exhibition handouts:
Brochures
Flyers
Business cards
Product catalogues
QR code-based digital brochures
Stickers or small branded gifts
These help maintain recall even after the event.
8. Incorporate Interactive Elements
A modern exhibition booth is more than just prints — it’s an experience.
Ideas to boost engagement:
Touch screens or digital displays
Live demos or product trials
Photo backdrop or selfie wall
AR/VR product experiences
Giveaway contests
Registration kiosk or tablet
Engagement increases the chances of converting visitors into leads.
9. Hire a Professional Installation Team
Even the best-designed booth can look bad if poorly installed.
Professional teams ensure:
Straight panels
Proper lighting alignment
Clean joints and edges
No wrinkles on fabric prints
Stable structure and safe wiring
Good installation = premium brand perception.
10. Plan for Logistics, Storage & Safety
A smooth event workflow ensures everything runs on time.
Checklist:
Deliver prints 1–2 days before setup
Confirm venue entry rules
Carry backup tools (tapes, ties, screws, power strips)
Pack spare branding materials
Keep storage under counters or behind walls
Also ensure all wiring, lightboxes and electrical items follow safety standards.
Final Takeaway
Creating a professional exhibition booth is a combination of:
Strong branding
High-quality printing
Smart layout planning
Effective lighting
Seamless installation
A well-designed booth helps you stand out, attract visitors, and leave a memorable impression — ultimately increasing leads and conversions.